Why install a GBA backlight mod? While many people are happy with the options available to play Game Boy Advance games (WiiU virtual console, Game Boy Player for the Gamecube) most would agree that the games play and look a lot better with the original hardware.
The Game Boy Advance has a massive library with some really great games and I feel it’s a shame that there are not many ways to play the majority of it, without emulation etc.
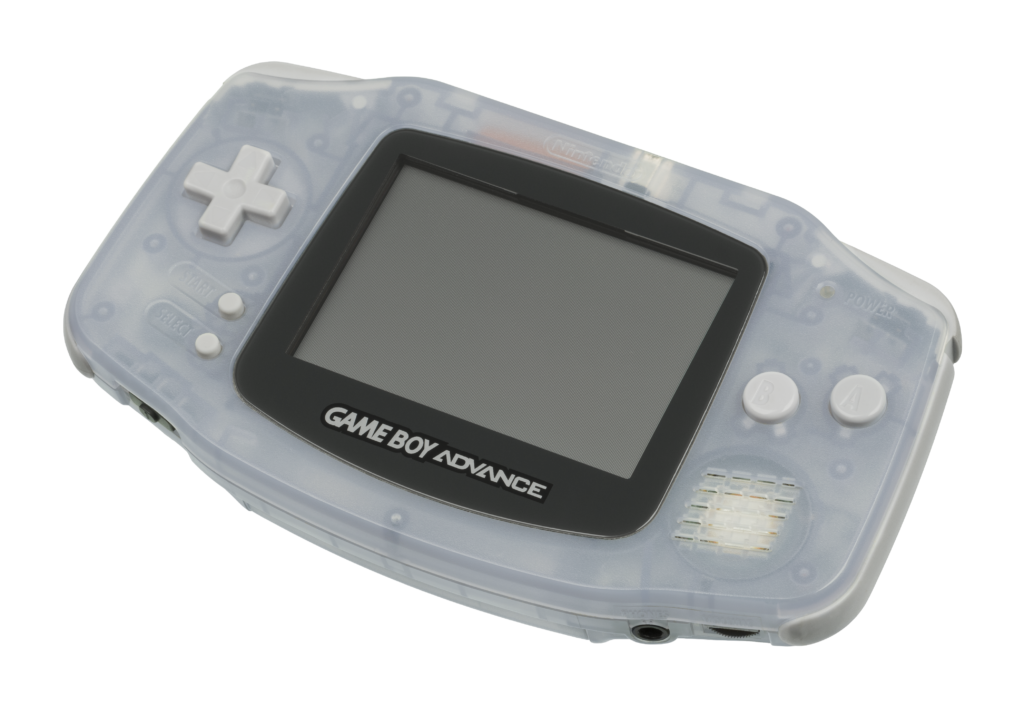
The Game Boy Advance had backwards compatibility with the older Game Boy and Game boy colour games however lacked one, rather important, feature: A backlit screen. Nintendo did eventually rectify this some years later with the release of the GBA SP. It came with a backlit screen, rechargeable battery & a clamshell design. The problem was the screen was a little washed out but, in comparison to the original screen, this was so much better. With the original you only really had two main options; Sunlight which would make your screen almost unusable at certain angles or a worm light which would sap power from your precious battery life and leave a horrible halo reflection on the screen.
The form factor was something a lot of people were not happy with the GBA SP. The L & R buttons were a little too small and a bit fiddly to use, especially over a longer period. Nintendo decided to release the Game Boy Micro which fixed most of these issues and came with a full backlit screen which was very vibrant. The main problem was it was super small. Around the same time of the Micro’s release Nintendo, somewhat secretly, produced one final revision to the GBA which was the GBA SP model AGS 101. This used the same screen technology as the Game boy Micro but, had the same size screen as the GBA SP. This makes the AGS 101 model highly sought after and like all things sought after; They have become extremely expensive. While looking into an alternative it turns out I had some old GBAs lying around, 7 of them in fact!
Time for an AGS-101
What I wanted was the bright, vibrant screen of the AGS-101 in the original form factor of the original GBA. I searched the internet and almost right away I found this guide on Youtube by kenVersus.
I followed his guide step by step and to my amazement, I had a perfect, really bright GBA first attempt. No messing around with trimpots or anything & no screen interference. The most time-consuming part for me was the cutting of the inner plastic to allow seating of the new screen. The GBA backlight mod was very easy to install: –
STEP BY STEP GUIDE
STEP 1
Gather your Game Boy Advance, replacement screen & tools (You can get them from the links below)
STEP 2
Disassemble the original GBA (If you are using) and identify what model you have. This can be found by taking off the battery cover and is clearly visible without opening the GBA’s case. This number is important for correctly identifying which type of LCD ribbon cable you will need!
If the number on the motherboard starts with a ‘0’ the you have a 40 pin model
If it is a ‘1’ on the motherboard then you will have 32 pin model
Remove all screws from the back and completely take the game boy advance’s motherboard out being careful to disconnect the ribbon cable from the top of the board. This is done simply by gently pulling up on the brown tab holding it in place. I found a small flat head screwdriver helped here.
STEP 3
The replacement screen will unfortunately not fit directly into the replacement shell due to being a different size and shape. You will have to remove some of the plastic from the inside of the shell marked out by kenVSus in the picture below. You can use a craft knife or flush cutters but, I found the easiest way to mark out where to cut and use a rotary tool like a Dremel. This will save you a lot of time. You can use fine sandpaper to smooth off the inside after if needed!
STEP 4
Sink in the GBA AGS-101 screen, buttons, rubber conductive pads and motherboard (Don’t forget the L & R buttons like I did the 1st time!)
Slowly start to put everything back together attaching the ribbon cable into the screen connector then into the GBA’s motherboard. This will be quite long so you should fold it over in a zig-zag pattern like the picture below and run it along the back of the screen. Be sure to run the red wire around the side also.
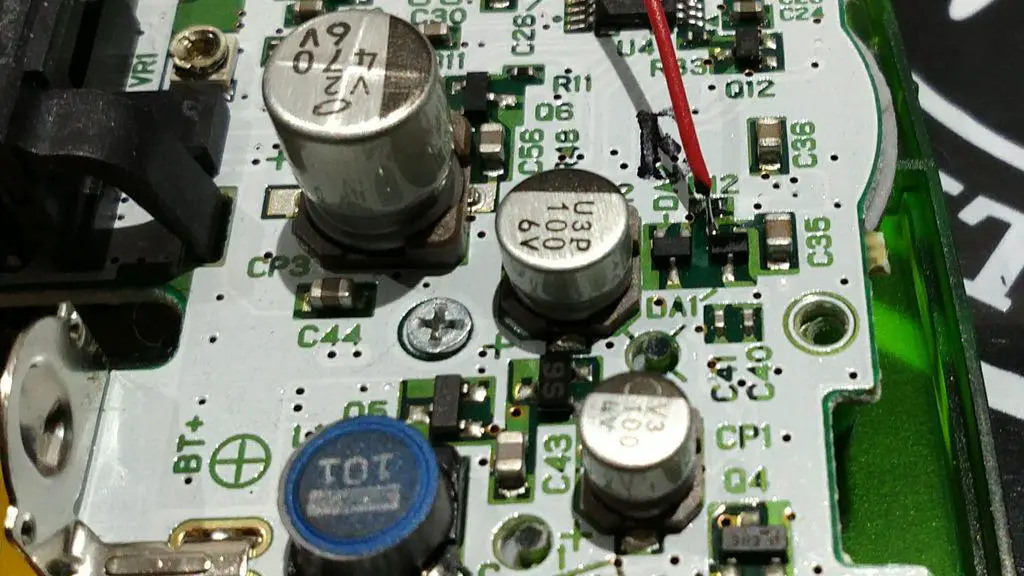
STEP 5
We now need to heat up our soldering iron as we need to supply some power to the screen. This can be done by soldering the red wire to the left leg of DA1. You only need to lightly touch the end of the cable to the leg with the soldering iron and it will connect.
STEP 6
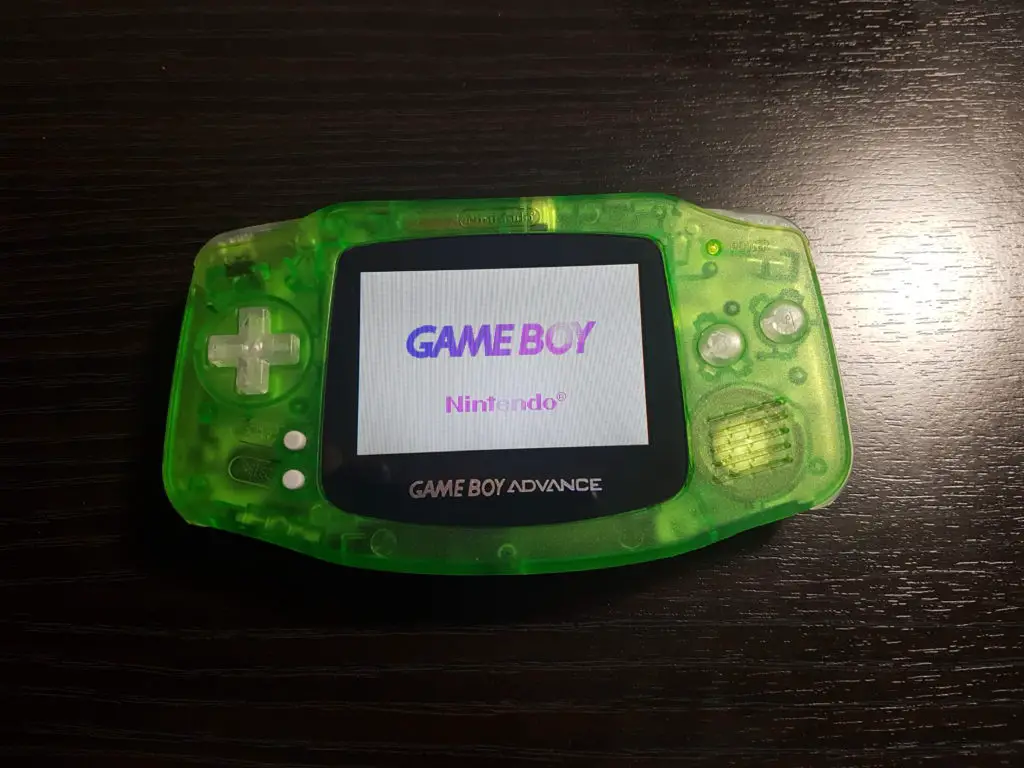
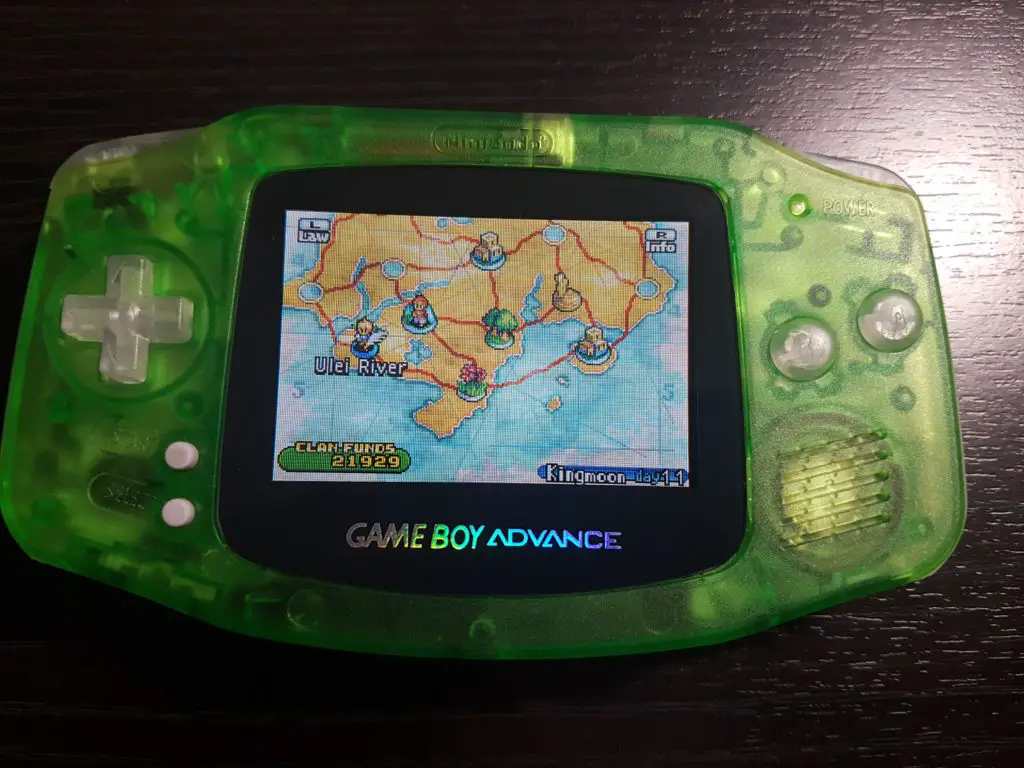
Put everything back together, cross your fingers and turn on & Success!! A fully backlit AGS-101 GBA!
As you can see from the above pictures mine turned out pretty good! I went for a brand new replacement shell from Amazon but, ditched the grey buttons for some clear buttons and I also replaced the plastic screen with a scratch-resistant glass replacement.
This Game Boy Advance backlight Mod is rather easy and even a beginner can get started with it! If you are thinking about doing the mod my advice is to stop and just do it! The AGS-101 screens seem to be finally coming down in price also. Most of these items are now also available in the UK so no more needing to order from China and waiting a month!
*These AGS-101 screens are getting much harder to find and also much more expensive. If you are having trouble finding one I would recommend picking up an IPS screen, they are brighter and use less power. The IPS screens are easy to install, come with a pre-modded shell and require no soldering. Full installation guide here.*
Overall I am very happy with the finished project and would happily recommend it to anyone who wants to play their Game Boy Advance games the way they were intended!
Be sure to let me know how you get on with your own mod!
If you are interested in modding an original GBA SP to be a backlit AGS-101, make sure you check out my other guide for reshelling a GBA SP. Follow these steps, but replace the AGS-001 Motherboard with an AGS-101 board. You can pick up AGS-101 motherboards online from eBay or track down a broken AGS-101. As you can see in my reshell guide, these they are pretty easy to install into a new shell.