
Whilst recently playing a session of Pokémon: Let’s got Eevee I noticed I kept running out of charge in my joy-con. This got me thinking of the ways you could charge your Nintendo Switch controllers.
To make matters worse while researching all the ways you can charge your controllers I found out that the Pokémon: let’s go series does NOT support the pro controller or using your Joy-cons in the Joy-con grip! What were they thinking!?
So how do you charge your Nintendo Switch Controllers? This varies depending on which type of controller you have. For the Joy-cons, you can either leave them attached to the console or attached to a Joy-con charging grip which allows you to charge the Joy-cons while in use via the Nintendo Switch dock’s USB port. If you have a Nintendo Switch pro controller you can also connect a USB cable from the dock to the controllers USB type C port.
Now, this might seem pretty obvious to most but, I was genuinely surprised by the number of methods for charging controllers offered by Nintendo and 3rd party accessory manufacturers.
How to Charge Your Joy-Cons
Apparently, these pack in controllers are supposed to have a battery life of up to 20 hours, I have found mine tend to last between 10 – 15 depending on the game. The most versatile of all the Switch’s controllers, the Joy-cons can be charged simply sliding them back onto the Switch. If the switch has power, the Joy-cons will be charged. This is also true while docked, if you slide the console in with joy-cons attached they will automatically charge. The same goes for handheld mode with the Switch plugged into the USB-C mains power.
Another way to charge the Joy-cons is to use a Joy-con charging grip, this looks very similar to the Joy-con grip included with the Switch, however, this one has an input for a USB-C connection to allow for charging while playing.
One more method of charging Joy-cons would be to use Nintendo’s very own AA battery pack. As you can probably guess, the AA Battery pack connects to the Joy-cons and allows you to insert two AA batteries into each one. It’s like stepping back in time and playing with the WII!
If you own multiple sets of Joy-cons it can be a pain to keep them in rotation for charging, luckily you can pick up a licensed Joy-con charging dock by PowerA. This will allow you to charge to pairs at the same time which is great if you have a major Super Mario Party session planned.
How to Charge Your Pro Controller
The Nintendo Switch Pro controller is hands down one of the best ways to play your games, it’s very ergonomic, has a premium feel and in my opinion, is even more comfortable than both the PS4 and Xbox One’s controllers. The good news is with the Pro Controller you won’t need to charge it that often as it boasts an impressive 40 hours of gameplay from one charge. Realistically, I have found the Pro controller to last well over 20 hours on one charge but, I guess your mileage will vary depending on how intensive the game is.
The price may be a little more than other options, but Nintendo has done a great job of implementing its technology into the controller. The controller has NFC in-built which means you can scan your amiibos by simply tapping them on the controller. Also included the motion sensing and HD rumble technology which is a deal breaker in my opinion. Like the Joy-con charging Grip, the Pro controller is charged via USB-C & comes with a relatively long & thick Nintendo branded cable which feels extra sturdy and premium.
The bigger buttons of the Pro controller feel better while playing certain games like Zelda Breath of the Wild or Super Mario Odyssey, at least in my opinion. Also, I know this may enrage some purists but, I think the Pro Controller is far superior to the GameCube controller for playing Super Smash Bros. Ultimate!
PowerA also produces a Joy-con & Pro controller Charging dock which charges one set of Joy-Cons and one Pro controller. The Zelda themed one is pretty cool, make sure to check it out! Personally, the Pro Controller is my favourite way to play games on the Nintendo Switch while docked.

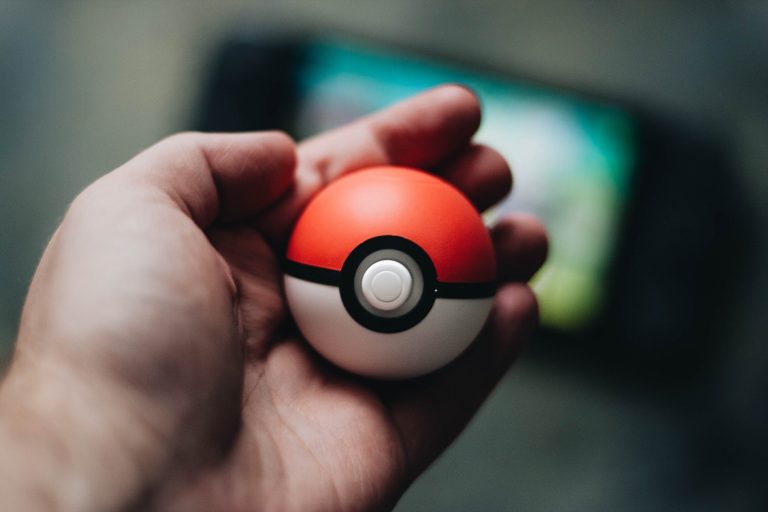
Pokéball Plus Charging
With the release of the Pokémon lets go series Nintendo saw it fit to finally release an ‘official’ Pokéball. The Pokéball Plus controller is only really used with the current Pokémon games on the Switch and does a good job allowing you the chance to charge up your Joy-cons rather than having to constantly switch between them in docked mode!
To charge the Pokéball Plus controller you connect the ball via USB-C to the dock. The Pokéball actually plays the ‘Healing Pokémon’ song from in the game which is a nice touch. Now, this is the basic way to charge your Pokéball Plus, however, I much prefer the Drop and charge stand by HORI. As you can imagine you simply drop your Pokéball plus down onto the stand and it charges, it looks pretty attractive also!
Third-Party Options & Charging
There are a fair few Third-party controllers you can pick up now which will act pretty much as the Pro Controller. PowerA has been busy producing these since the launch of the Switch and there’s quite a few available.
The PowerA enhanced wireless controller is one option and considerably cheaper than the Pro Controller. This does not require charging in the traditional sense as it is powered by two AA batteries. Unfortunately, this controller does not have NFC or HD rumble (or any rumble) but does have Motion controls. PowerA also manufactures a range of great Nintendo themed wired controllers which are pretty much in the same form factor as the Pro Controllers. With the wired controllers you won’t have to worry about how to charge them, however, they are lacking the NFC reader, HD rumble & more importantly, motion controls! This makes some games unplayable! As far as I know, a few of the moons in Super Mario Odyssey are only obtainable with the use of motion controls (And a lot of skill). They do work fine in most games though and are attractive, perfect for a little brother or sister while the older sibling gets the more fully-fledged controller!
8-Bitdo produce some of the most nostalgic Nintendo Switch controllers. Most of their controllers ‘Borrow’ designs from a previous console, but my favourite is the SF30 PRO. The SF30 PRO is effectively a clone of the Super Nintendo / Super Famicom controller (Including the colourful buttons). This is not just a cheap clone, this is a very high-quality device indeed. The SF30 actually feels like a SNES controller, I mean everything from the texture to the tight D-pad while throwing in some more modern features such as dual analogue sticks, additional shoulder buttons, rumble and Motion controls! Operating over Bluetooth you don’t have to worry about cables cluttering up in front of you unless you need to charge it. The SF30 Pro charges via USB-C which is an upgrade from its predecessor which had to be charged using micro USB and has a pretty good battery life of up to 16 hours from a 1-hour charge.
The SF30 Pro makes for one of the best ways to play the NES online games provided with Nintendo Online, the D-pad is really great! I would advise you to check out the whole range by 8Bitdo, they are all very good! Also, if you were wondering how to play Nintendo Switch with an XBox controller or PS4 controller? 8Bitdo’s Wireless Bluetooth Adapter lets you connect Xbox, PS4, PS3, Nintendo Wii & Wii U Pro controllers to your Nintendo Switch!
Keep Your Switch controllers charged!
How to keep your Nintendo Switch controllers charged for longer? The best way to keep your controllers charged is to make sure you plug them back in when you have finished playing! Sure, I understand these things can slip our minds, they slip mine all the time. Leaving your Nintendo Switch docked will charge both the console and controllers. Be sure to plug in your Pro controller to the dock’s USB and it will be ready for you the next time you need it! Nothing worse than going to play a game and realising your low on charge.
The same goes for the Nintendo Switch in general if you keep it charged you don’t have to worry about it. This is not always possible when out and about, so I carry with me a 20000Mah power bank in my bag. This is more than ample to keep my Switch and controllers charged while travelling long haul via Bus etc. If I carry my USB-C and power bank I can keep on playing Hyrule Warriors! Also, don’t be afraid to carry your mains adapter around, you would be surprised the places you can find a power outlet these days!
Well, that about wraps up my short guide on how to charge your Nintendo Switch controllers and I hope it has been useful. I will attempt to keep this page updated as more methods appear to me in the future!