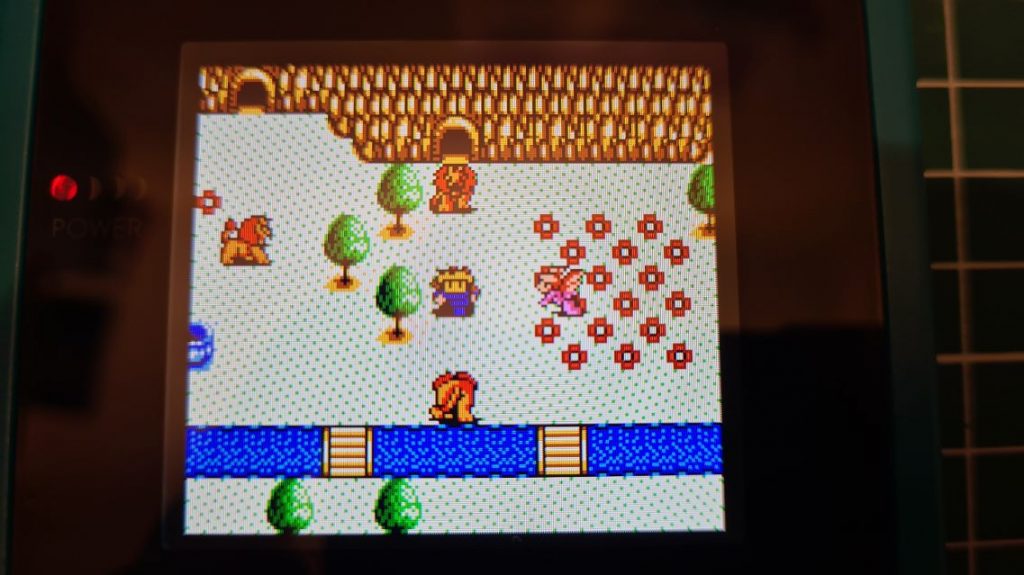
In this step-by-step guide, I will be showing you the best way to install a backlight into your Game Boy Color. There are a few different manufactures that produce these replacement screens and kits. However, most of them are not full-size screens, leaving an unsightly border within the lens of your Game Boy Color. Luckily, the one we shall be installing today is the Funnyplaying IPS kit. This is the best backlight for your Game Boy Color. The screen offers integer scaling, so each pixel looks sharp and it’s the same type of screen we installed in the GBA SP IPS mod here.
So, why should you use the Funnyplaying Screen to backlight your Game Boy Color? The backlight kit provided by Funnyplaying will backlight your Game Boy Color giving you a full-size screen unlike others, you won’t need to buy a specialist lens, do any soldering & as the screen is IPS you will get a fantastic viewing angle with no screen tearing
Items Needed: -
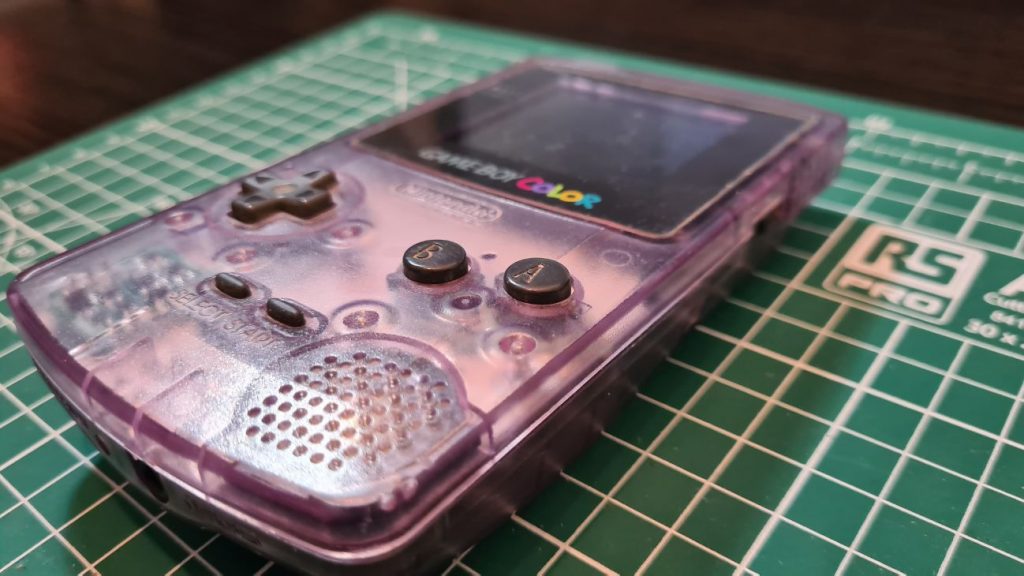
Here I have this old transparent Game Boy Color, it’s a little beat up but nothing we can’t fix. I’ve gone ahead and ordered a replacement teal shell to rehouse our backlit Game Boy Color. The screen is also a little scuffed so we will also be installing a replacement glass lens which will provide a higher level of scratch resistance.

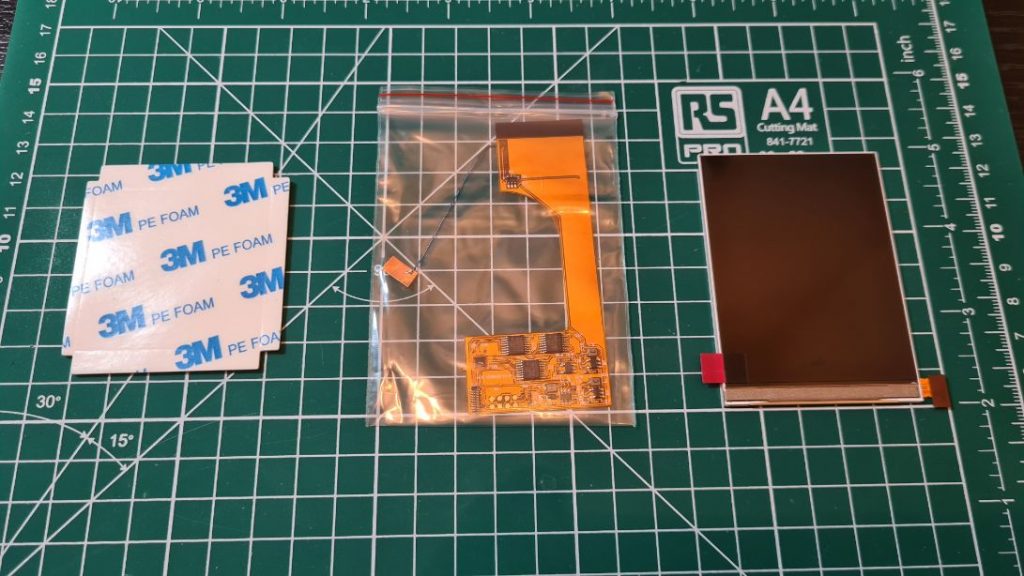
Inside the GBC screen kit from FunnyPlaying, we have the IPS screen, Ribbon cable adapter and some foam doubled sized adhesive.

Game Boy Color Disassembly Steps
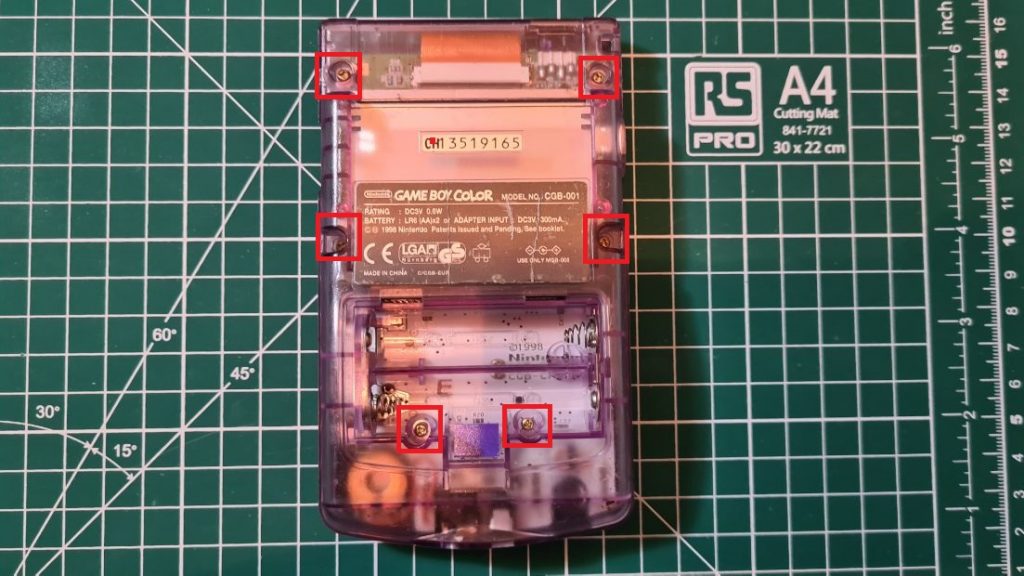
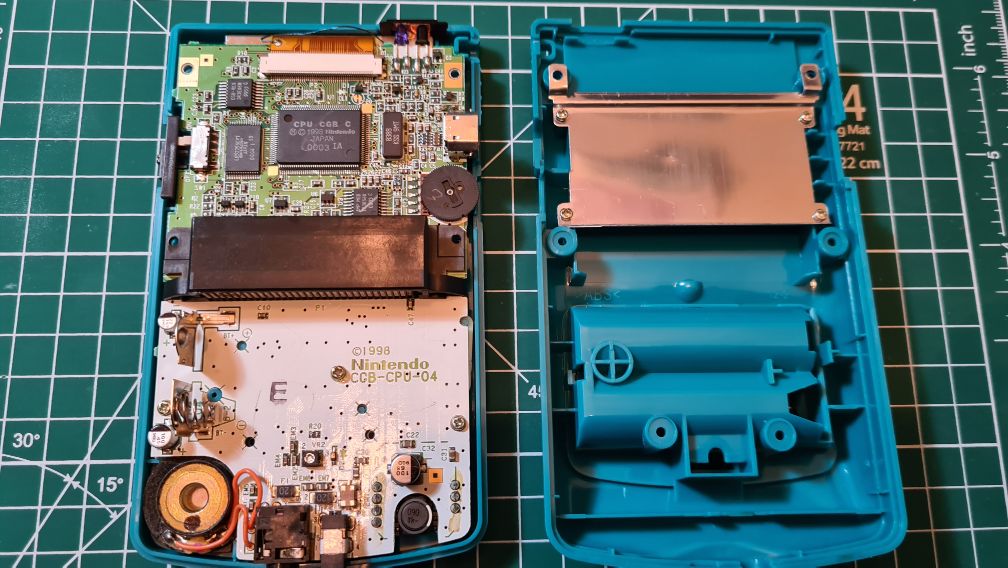
So, the first thing we need to do is take apart the Game Boy Color. This is pretty simple to do, first, make sure there is no game inserted and remove any batteries. Turn over your Game Boy Color and remove the battery cover, you then want to remove the 6 tri-wing screws on the back of the Game Boy Color with a tri-wing screwdriver. There are 4 screws on the outside and 2 screws inside the battery compartment. Put these screws aside somewhere safe.

With the screws removed the shell should separate, put the bottom half of the shell aside. You now need to remove the 3 x screws from the motherboard I will mark out below:
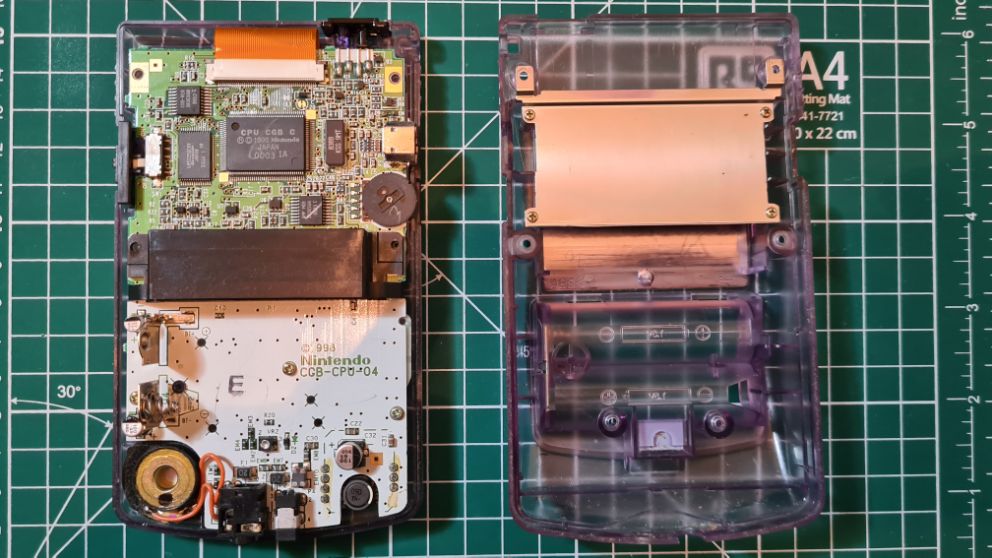
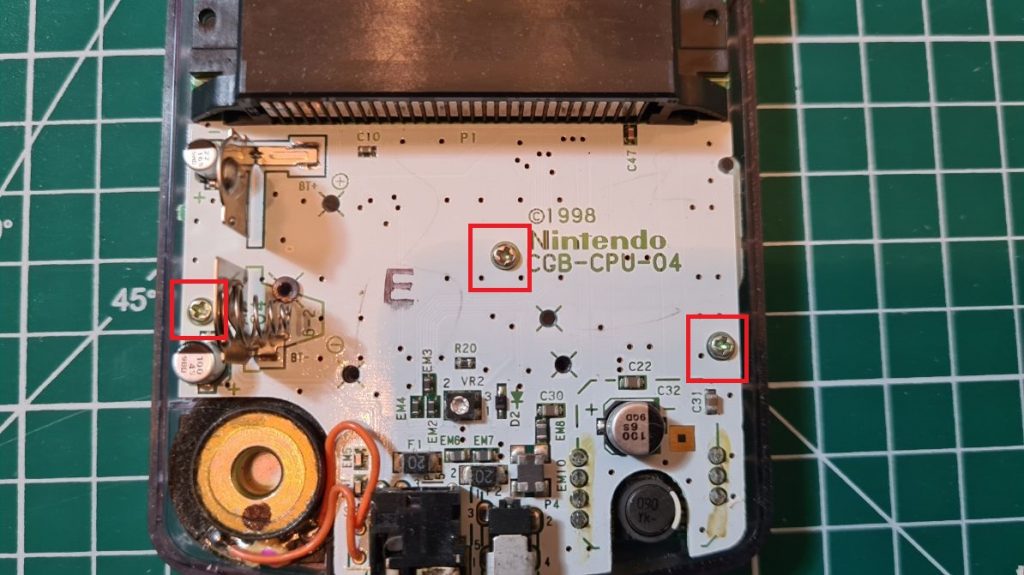
Now, these 3 screws are a little squarer than a standard phillips head screw, but you should be just fine using a normal phillips screwdriver. With the screws out of the way, we can get to the Game Boy Color’s motherboard. First, Remove the IR cover and volume slider and put them aside somewhere safe.
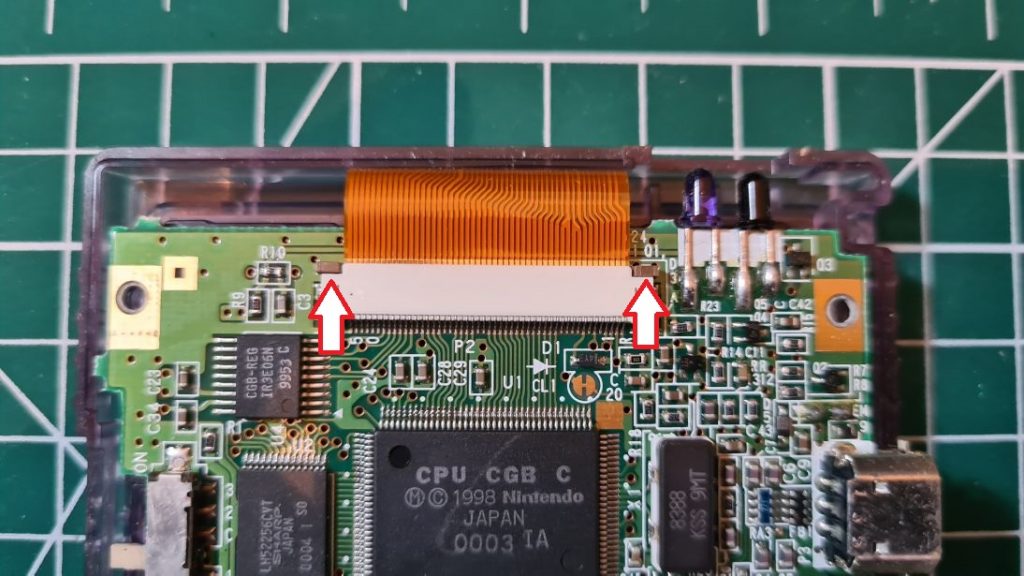
From here, pull up on the two tabs on each side of the ribbon cable connector at the top of the motherboard, this will allow you to remove the ribbon cable from the board. Lift out the Game Boy Color motherboard and put this aside. As this is an original Game Boy Color I want to take out the original screen, buttons and silicon membranes. The buttons and membranes just lift out of the Game Boy Color’s shell, however, the screen can prove to be a little more tricky. Gently and carefully twisting the plastic around the screen should help loosen it. It is held in with a strip of adhesive, if you are using your stock shell, you will want to take out this adhesive layer like below.

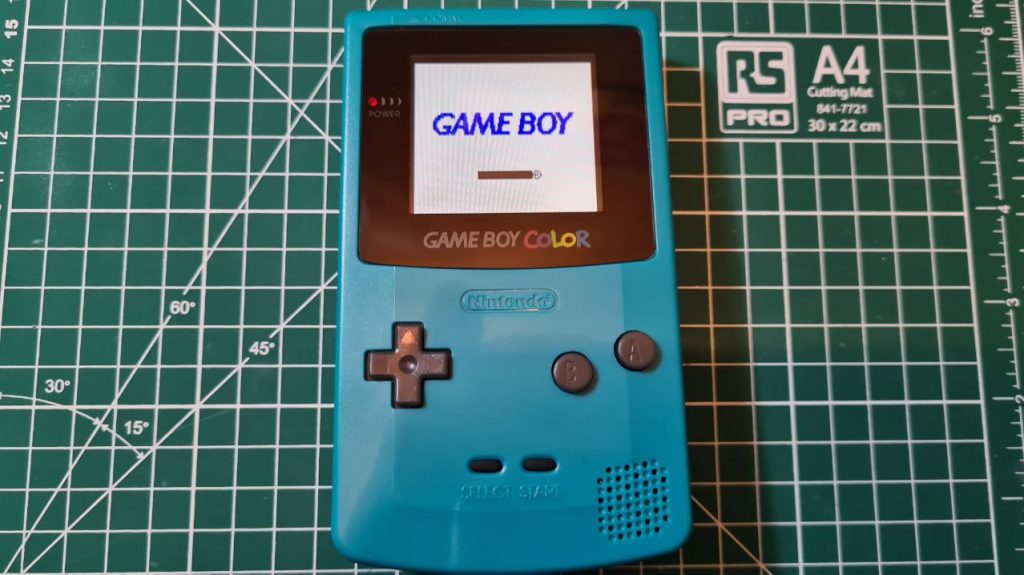
Now would be a good time to check if our screen is working properly before we begin to the install. The easiest way to do this is to connect your ribbon cable to the IPS screen. To make the connection, you push down the tiny connector on the screen into the ribbon cable. We can then connect the other end of the ribbon cable to the Game Boy Color’s motherboard. Gently place the motherboard into the back half of the case as shown below being careful not to break the ribbon cable and put some batteries in to see if your screen is functioning:

As you can see, our Game Boy Color backlight screen and ribbon cable work as they should. Disconnect your ribbon and screen and put them aside somewhere safe.
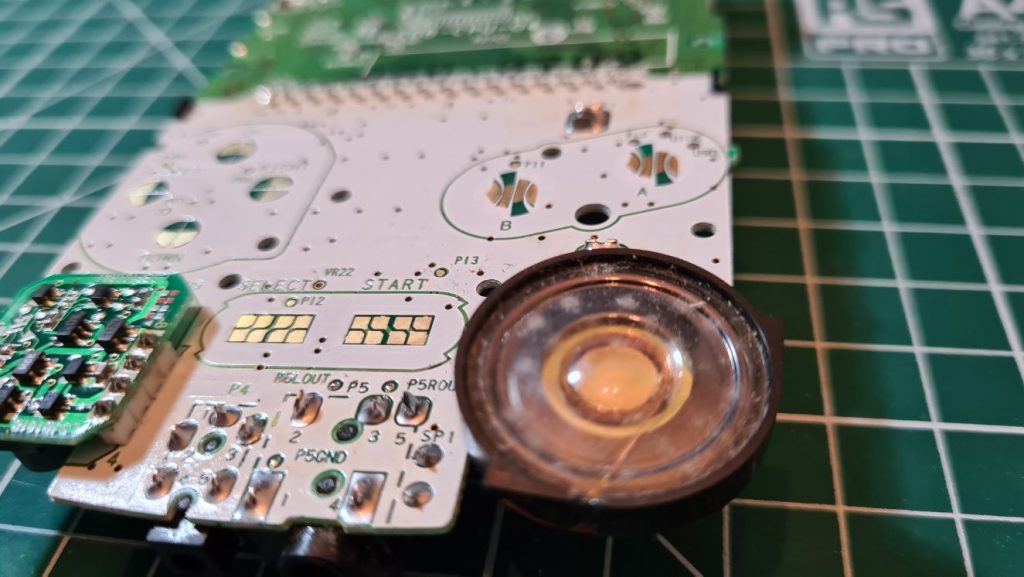
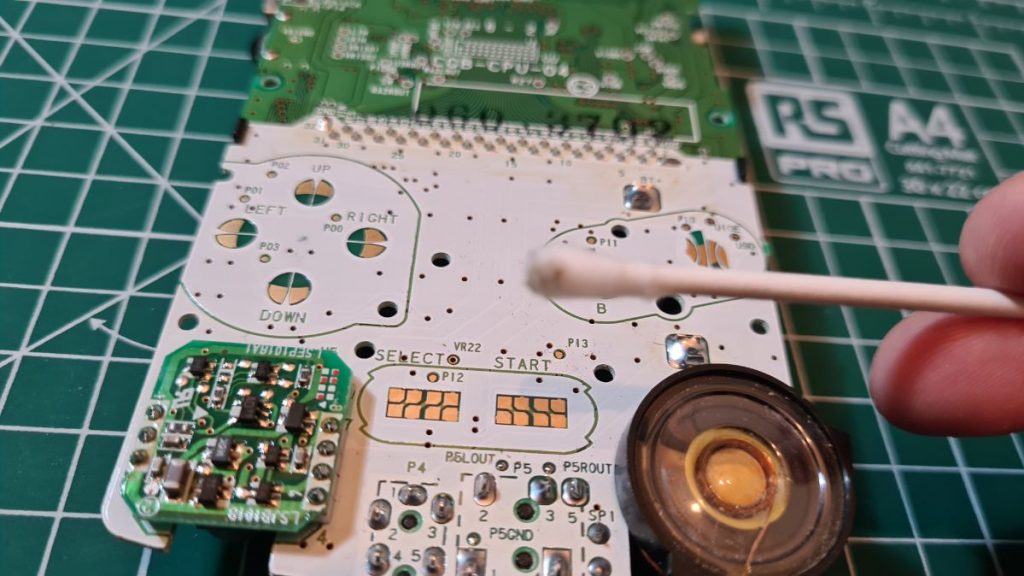
Now, this is optional, but it may be worth cleaning up the motherboard a little. After all, some of these consoles are 22 years old now! To clean the motherboard, use some high percentage IPA with a cotton swab or a toothbrush, you don’t need a lot of IPA and remember to be a little gentle with your scrubbing. If you are going to be reusing the original buttons and membranes and want to clean them, simply throw them into some hot soapy water and them to soak. This will have the added benefit of restoring some of the elasticity to the membranes which will make your buttons feel a lot better, just remember to dry them off fully before reusing them.
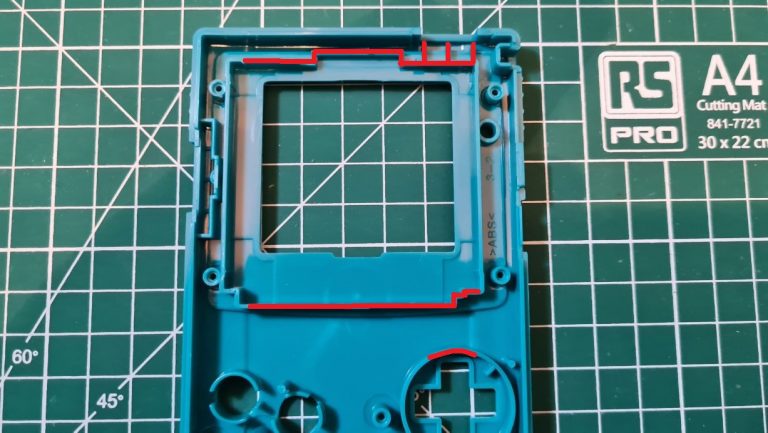
Next, we need to trim the inside of our shell. The trimming of the inside of the shell is necessary to fit the backlit screen into the Game Boy Color. If you are uncomfortable doing this yourself you can get a replacement shell pre-trimmed from Hand Held Legend, this is an affiliate link and will give you a small discount on your order.
Below I’ve marked out where we need to make our cuts. For this shell I am going to be using some flush cutters and a craft knife to finish everything off, alternatively, you could use a rotary tool like a Dremel if you have one. You can line up your screen and you’ll see exactly what areas need to be cut.
I find the best way to do this is to score the are to be cut with your craft knife then make two cuts either side with your flush cutters, this should allow you to fold back the excess plastic which should just snap off. My advice is to have a little patience and take your time after you finish you can ‘smooth’ out rough areas using your flush cutters or some fine sandpaper.

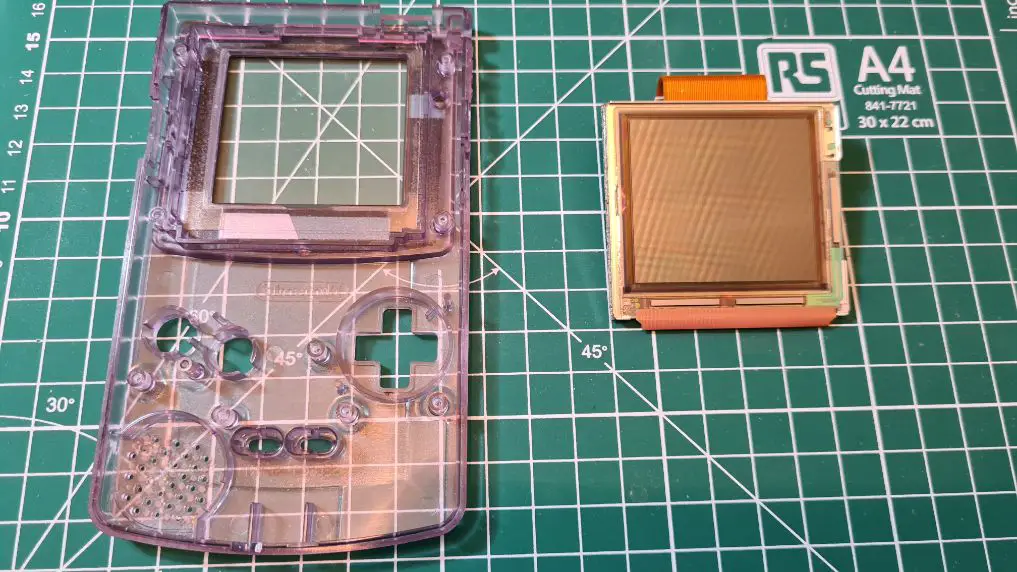
Now that your shell is cut, we can drop in our screen into our trimmed Game Boy Color shell and see if everything lines up.

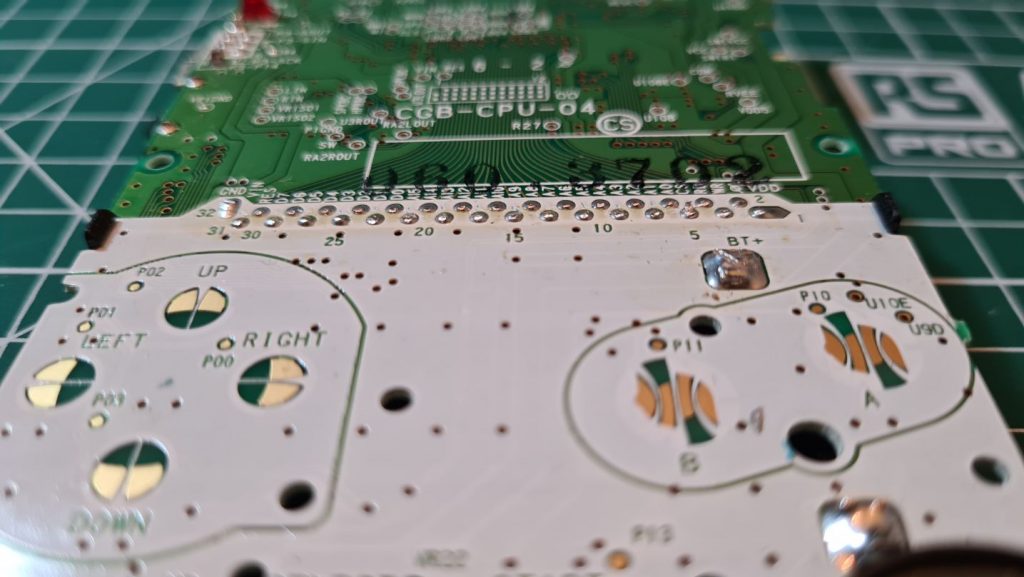
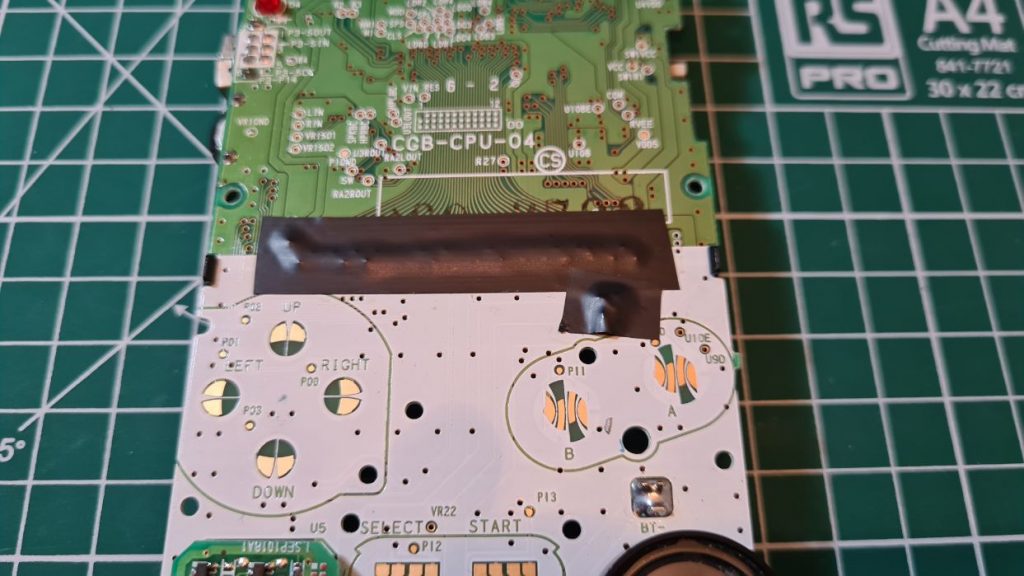
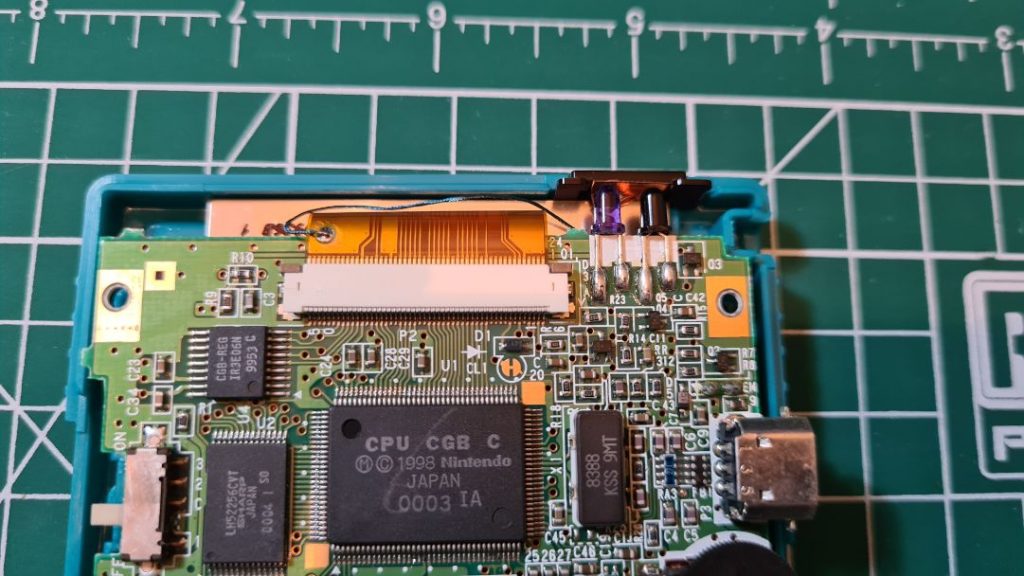
Back to your motherboard, you will want to trim down the pins that stick out on the front side of the motherboard. These are the pins from the cartridge slot and can add extra pressure and damage the screens. To trim them down take your flush cutters and cut them down close to the board. There is also a tiny mound of solder we want to trim down using our flush cutters just below labelled ‘BT+’.

You will want to insulate these pins and the mound at BT+, if you are using a clear shell, I would recommend using some clear Kapton tape. I am going to use some thin black electrical tape I have. This will stop anything from shorting as the back of the screen is metal.
Game Boy Color Backlight Installation
Now, we can start to put stuff back together. First, you want to put the screen into place, so find your 3M doubled sided tape and install it into your shell like below. Make sure you double-check this all lines up because once the screen is put into place with the tape it very hard to remove!

After the final check remove the protective film on the IPS screen and peel back the top layer of doubled sided tape. Put the screen into place and the tape will form a seal, this will stop any dirt or dust from appearing on the screen over time.
Next, as I mentioned, earlier I am installing a glass replacement lens, I am going to do that now, so no dust gets caught under the lens.
Find your ribbon cable and connect it to the screen, you need to fold over the small tab on the bottom left side of the screen and have it sit ‘chip’ side up like below:

I put a small strip of electrical tape to hold this down. With the screen installed we can put the buttons and membranes back into the console. You will notice that the D-pad membrane is a little too large. Using some sharp scissors cut a small piece of it away.
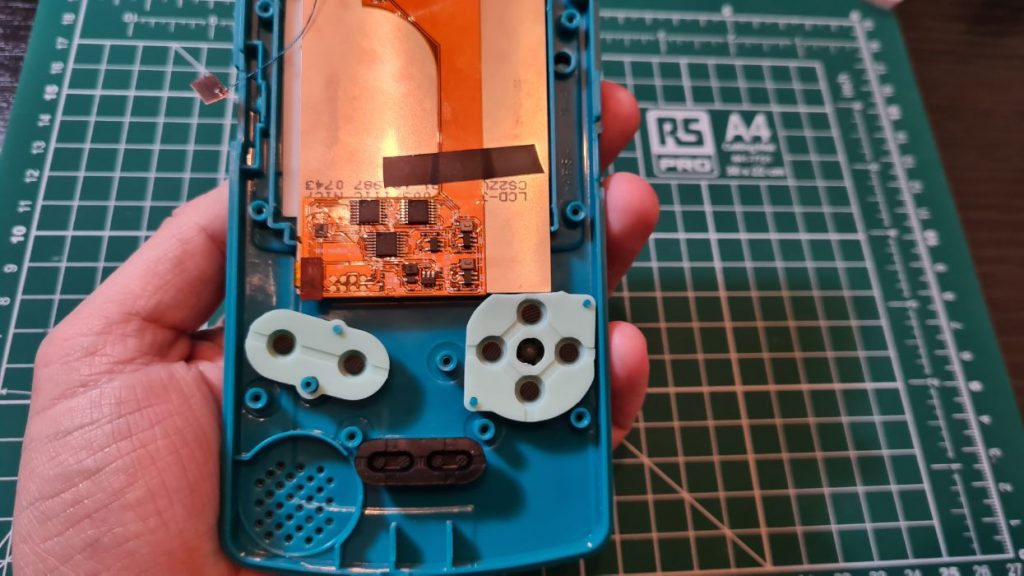
Now put back the motherboard into the shell and folder over and reinsert the ribbon cable. Clip down the tabs on each side and its time to install the touch sensor for the backlight brightness. This adhesive flap should be installed under the IR shield. This will allow you to easily adjust the brightness by tapping the IR cover. In my case, the new screen was in the way, so I had to sand down the underside of the cover using a low finition sandpaper.

Once that was done, reinstall the three screws to the motherboard and reinsert the power switch.
Finally, put the back of the shell on making sure that the touch sensor cable is tucked in and put back the 6 tri-wing screws we took out at the beginning.

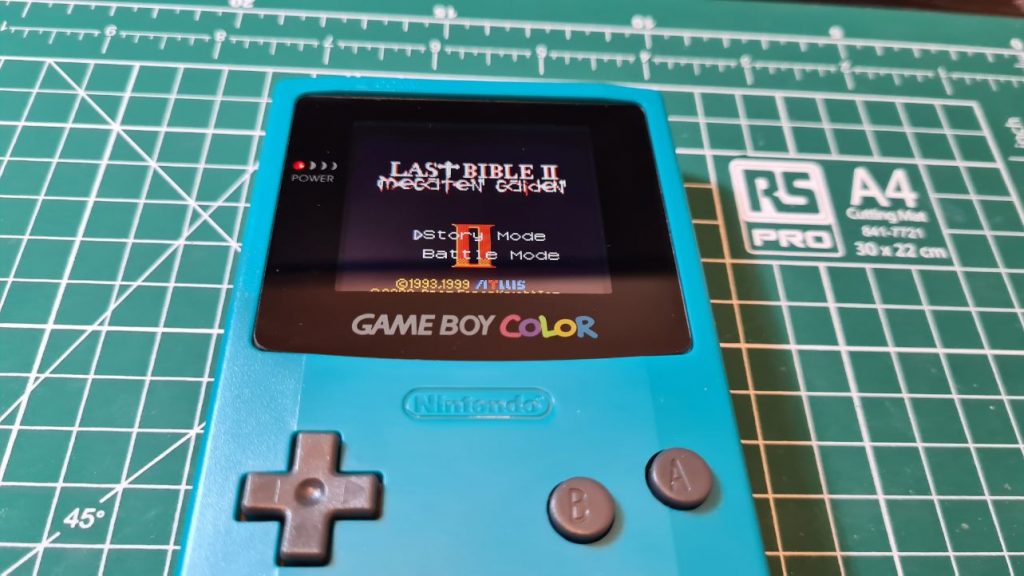
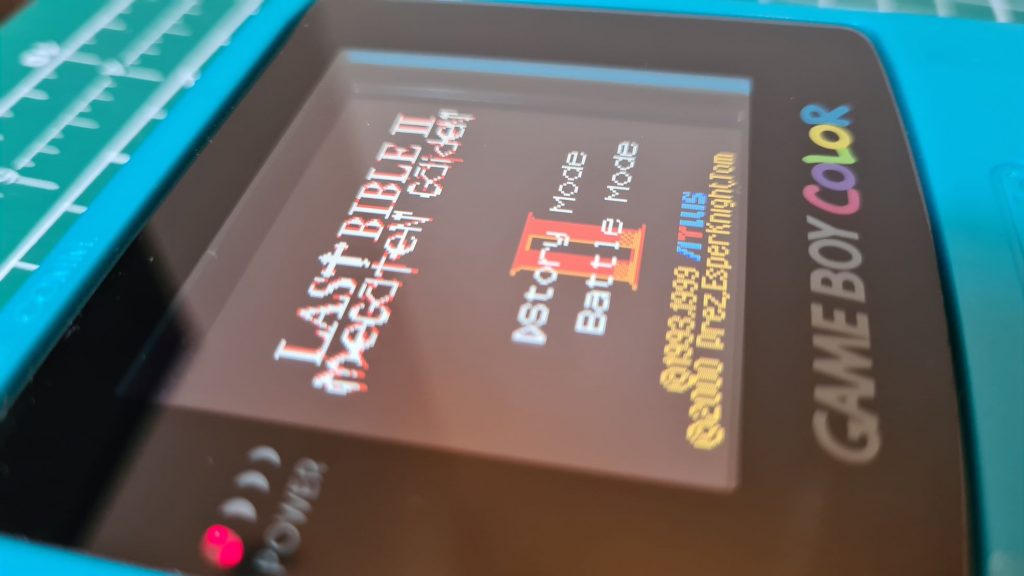
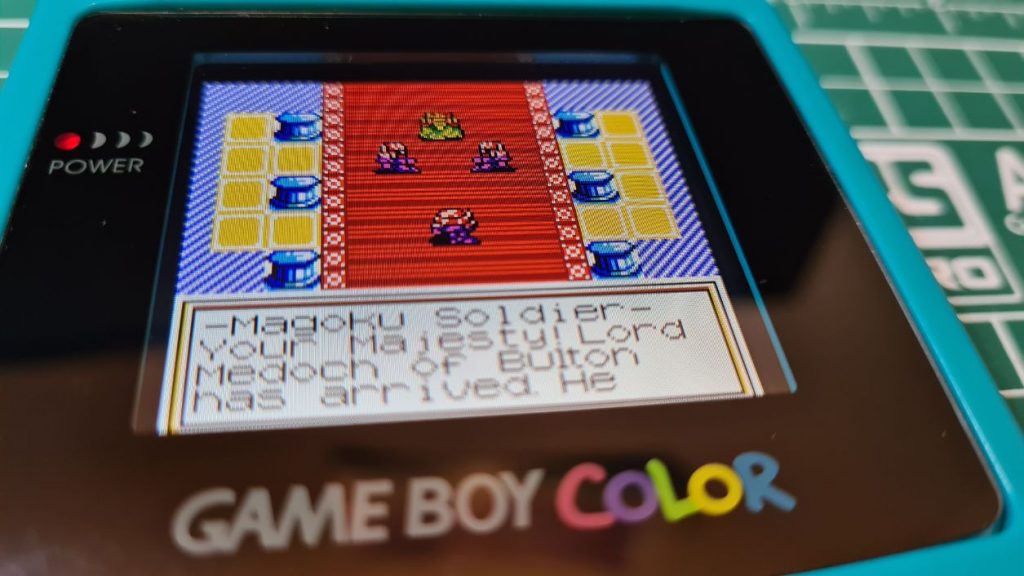
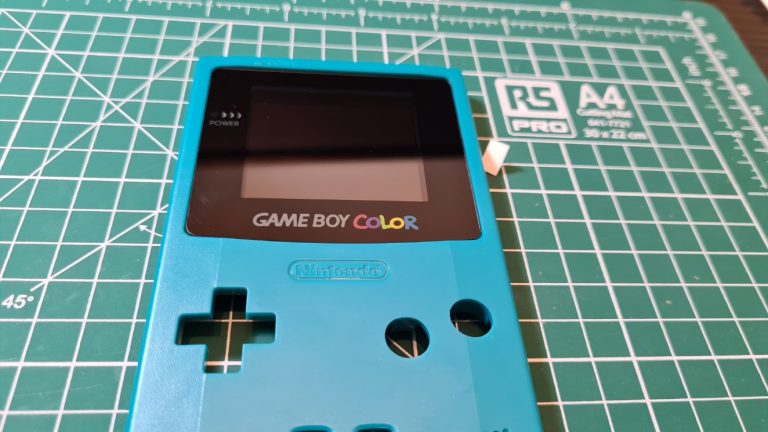
Finally finished! I think we can safely say this screen looks amazing!
The full-size screen of this backlight kit means there’s no need for a specialist screen lens, you can just use a standard replacement or original.
Tapping the IR sensor now offers 6 different levels of brightness and the colours really pop, it looks a lot better in real life than in my pictures here.