In this guide, I will be showing you how to build and install a USB-C rechargeable battery into your Game Boy Advance. This GBA USB-C battery mod is very cost-effective and should take around 30 minutes to complete.
Recently, while testing GBA flash carts, I started to think more and more about battery life. I usually use a GBA SP with an IPS mod installed, but I do prefer the feel of the original Game Boy Advance and it is the model that I have the fondest memories with as a teenager. The original Game Boy Advance did not have rechargeable batteries and using one with my preferred, yet power-hungry EZ Flash Omega would quickly become quite costly, especially when I get around to installing an IPS screen into this model. Let’s start our GBA USB-C battery mod.
What do we need to install this mod?
To install a rechargeable battery into your GBA you need a few items: –
LiPo Battery 3.7v (I use 1100mAh sized 47 x 28 x 7.8mm)
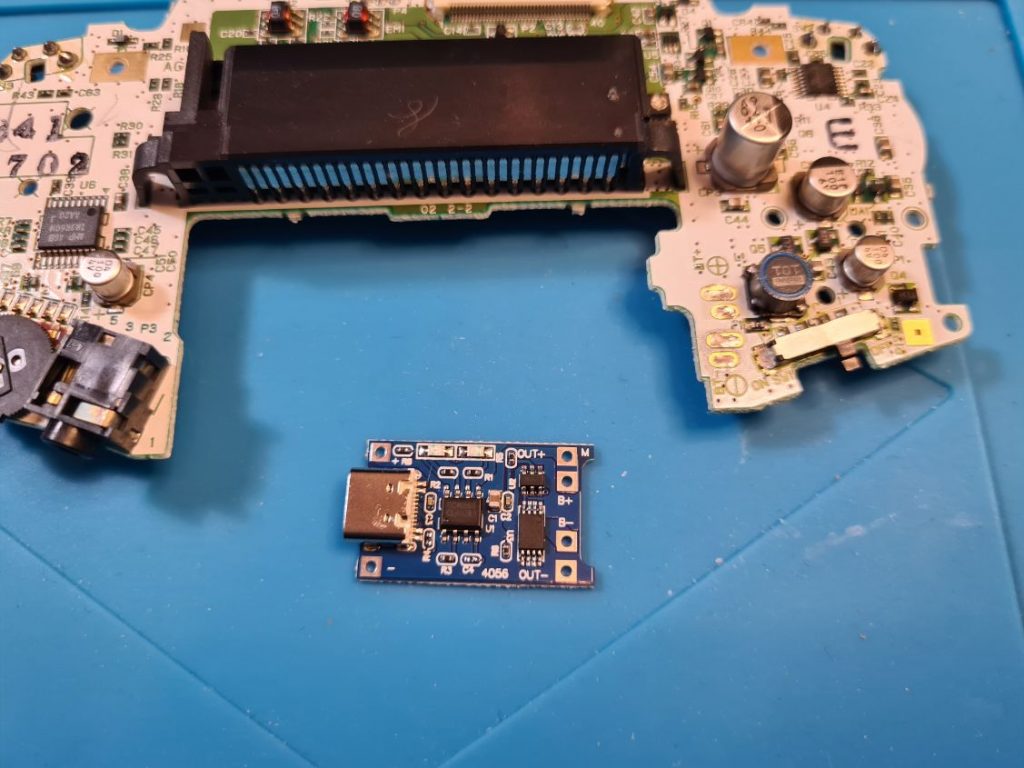
USB-C charging Board (I use a USB C TP4056, you can use the Micro-USB version also)
A diode (I use a 1N4001 Rectifier Diode)
Tri-wing & Phillip’s head screwdriver
Some wire (or can be salvaged from any old cable)
Soldering iron & a small amount of solder
Electrical tape
Optional: Drill with 4mm bit or Dremel

How to Install The GBA USB-C Battery Mod
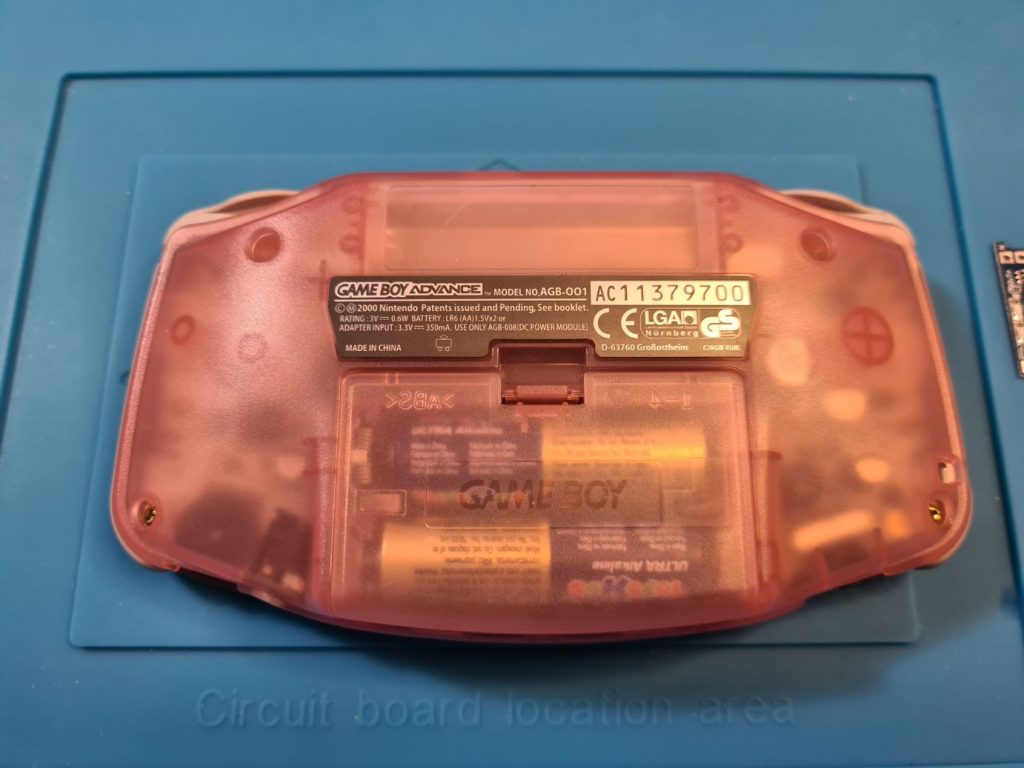
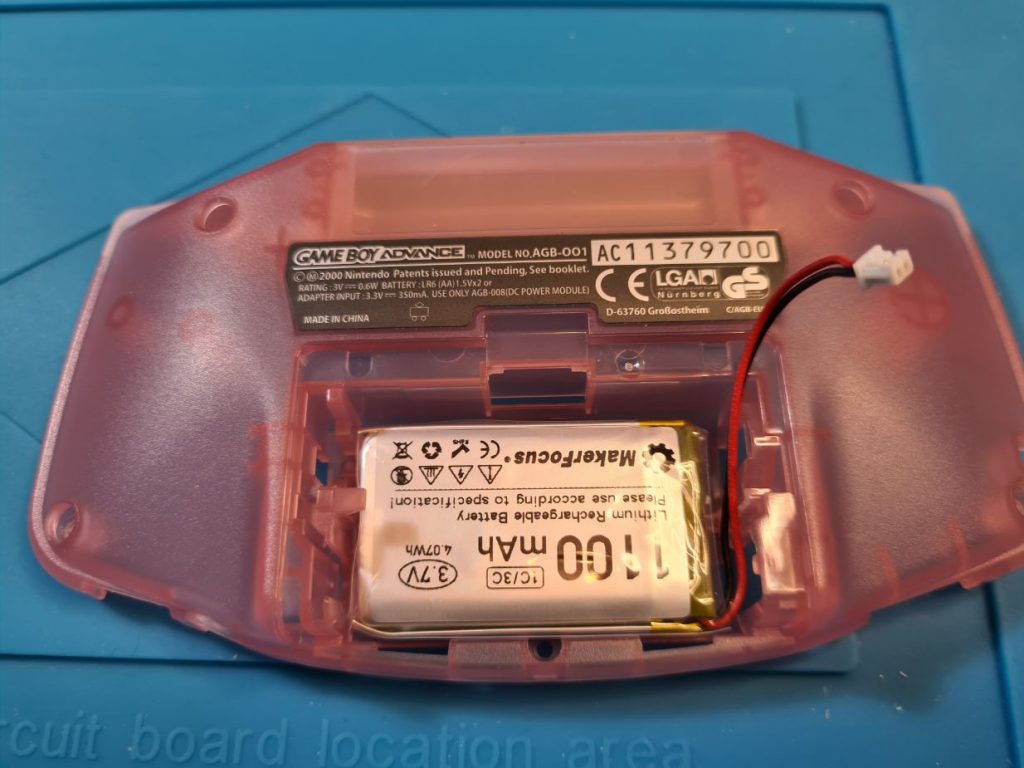
First, we will want to make sure our GBA is in working order. This is especially, important if you ordered it from eBay. It would be a shame to complete the mod only for it to be useless. Once confirmed working, turn your GBA over and remove any batteries installed.
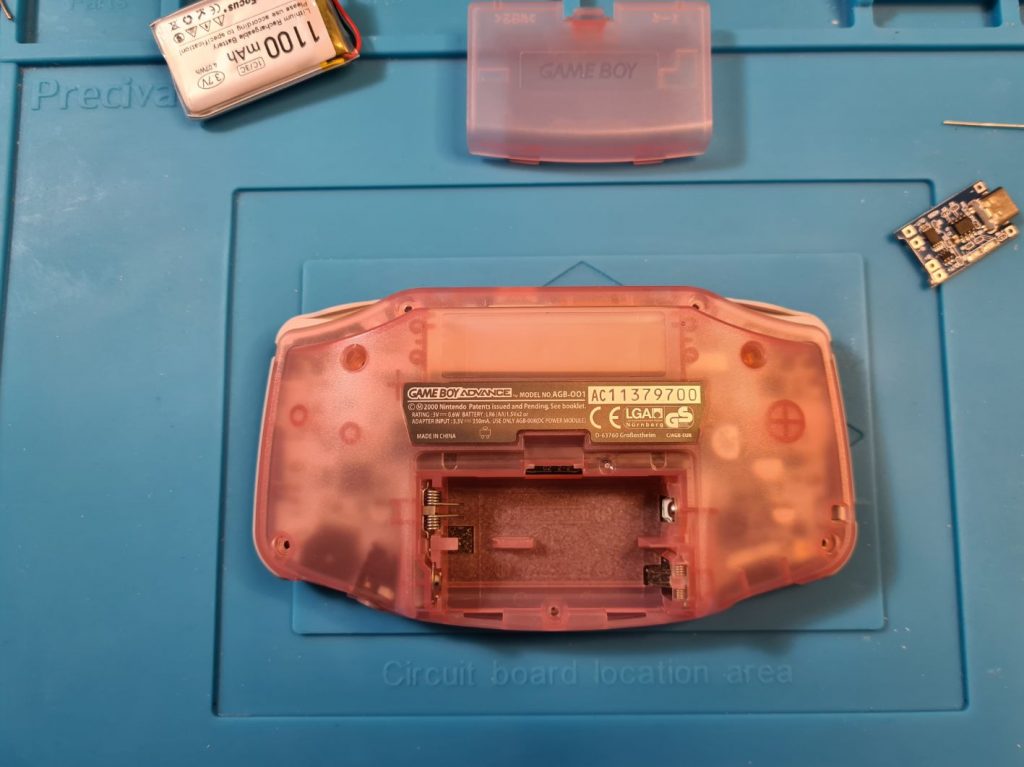
With the batteries removed, we can size up the battery compartment. The type of battery I chose almost fits in, but it will be a better fit if I remove some of the plastic inside the battery compartment.

Before cutting any plastic, we shall begin the disassembly. On the back of the Game Boy Advance, 6 tri-wing screws need to be removed and a single Phillip’s head screw inside the battery compartment at the bottom.

With your screws out, you can easily separate the backside of the GBA from the front half. For now, we want to focus on the battery compartment so put the front half of the GBA with the motherboard to the side. To make room for the battery I am removing the small piece of plastic on the bottom that acts as a divider for AA batteries and the part on the righthand side. To do this I am going to use a small pair of cutters. Once the plastic is cut down it may be worth pulling out the old GBA battery terminals, we won’t be needing these again and it frees up some extra space for us to work with.


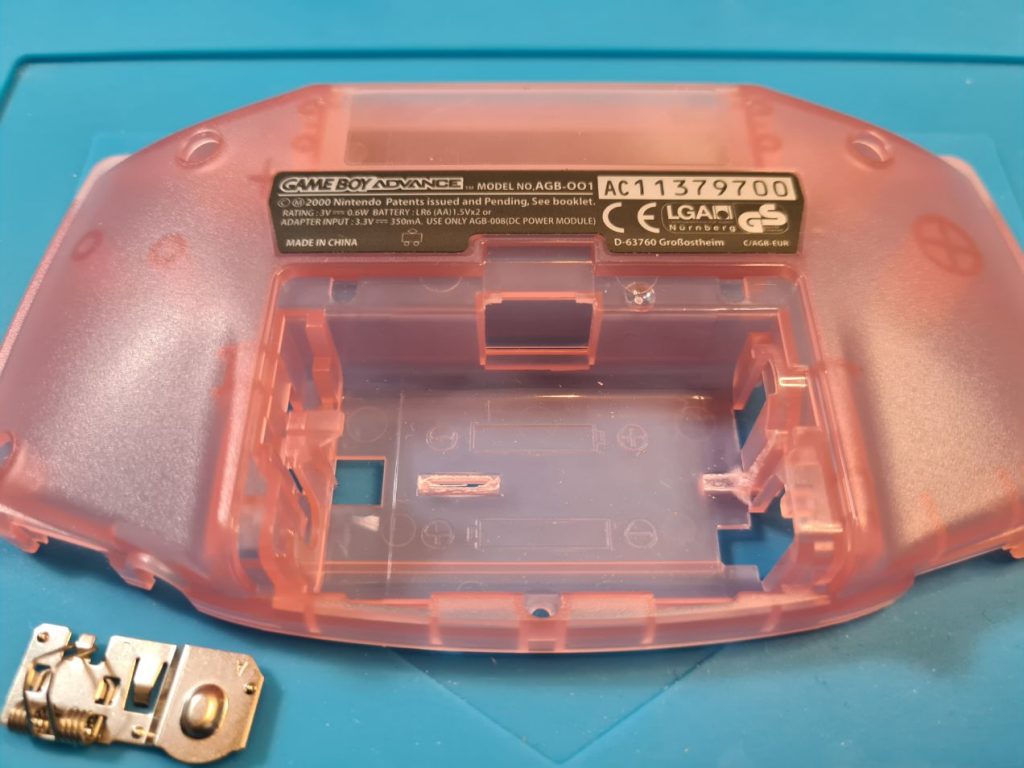
Now we can see if our battery fits. You can use any kind of capacity battery for this mod just make sure it is 3.7v and fits into the battery compartment. Mine fits in perfectly with plenty of room for additional wires and to fit the USB-C charging board. The internal dimensions of the Game Boy Advance battery compartment are 51 x 30 x 14.6mm, with some modifications you could probably fit a slightly bigger battery but that would require cutting more of your shell.
Next, we want to remove the battery terminals that are connected to the GBA’s motherboard. To do this we first need to remove the motherboard from the shell. The motherboard is held in place by three Phillip’s head screws which need to be removed. At the top of the motherboard, you will find a brown / copper ribbon cable which powers the display. We need to gently pry up each sides tab to release the ribbon from the motherboard. Once the board is separated, lift out the motherboard and set the screen half of the shell aside.


With the motherboard free, we can finally remove these battery terminals. I recommend using a K-type soldering tip if possible, if you do not have one then regular soldering iron will do just fine but you may have to hold the iron longer for the solder to go fully molten. Heat up the two mounds of solder and use some tweezers or pliers to pull the battery terminal downwards. (Please be careful, as these will be hot!)
If you are having trouble with the solder mounds not heating up, try adding some fresh solder which should help with heat transfer.


Now we will prepare our charging board. You will notice four vias on the top of the board, these need to be filled with solder. Turn your charging board sideways and fill the following points with solder: –
‘OUT+’
‘B+’
‘B-‘
‘OUT-‘
You may find it beneficial to add a little flux to the vias to aide in adhesion, but it is non-essential.
Now, the wiring here is pretty straight forward, the ‘B’ stands for battery, where we solder our battery wires to and the ‘OUT’ is for output, which will lead to our GBA motherboard. Cut the top terminal from your battery wires.

Solder the positive wire to ‘B+’, usually red and the negative wire to ‘B-‘

Set your battery and board aside for a moment and get your GBA’s motherboard. Turn over the board so we can see the underside of the battery terminals. Cut two pieces of wire, ideally one red and one black. This will need to reach from the battery terminal points to the middle of the battery compartment plus a little extra to connect to the USB-C charge board, I went with approximately 6 – 7cm of wire. Solder your red wire to the top (+) battery terminal point and some black wire to your bottom (-). Afterwards, push the newly soldered cables through the shell and see how much room you have left to play with like in the picture below.


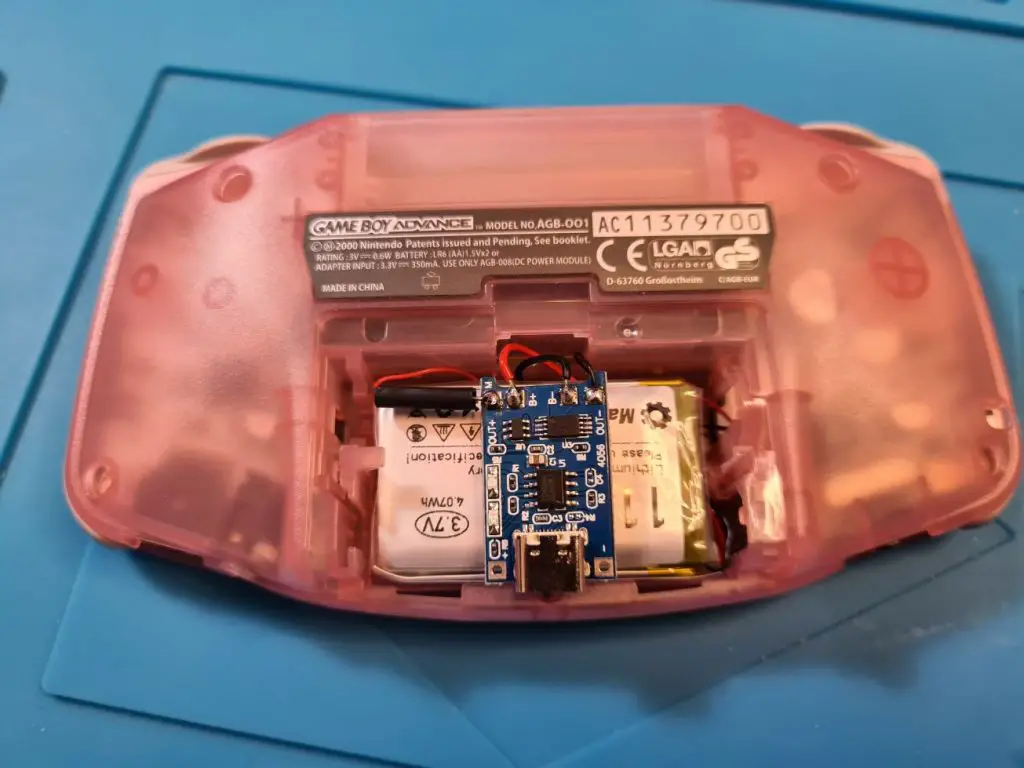
Solder your black wire from the GBA motherboard to the ‘OUT-‘ point on the USB-C charge board. Get your rectifier diode and cut the legs short, you will want to solder this to ‘OUT+’. I decided to rotate mine to the left so it fit nicer into the battery compartment. With the diode, you will want the stripe facing away from the charging board, you will then solder the red wire from the Game Boy Advance’s motherboard to the other leg of the diode, consider insulating this with some electrical tape. We can now test to see if our rechargeable battery mod has been successful. Plug in a USB-C charging cable to the board, if all is well the charging board’s red LED will light up to let you know the battery is being charged.


To make sure our Game Boy Advance’s USB-C battery mod has been successful, carefully turn the unit over and slide the power switch to the on position. If everything is working fine the Green power LED on the GBA’s motherboard will light up and the start-up sound will play, providing you have the volume turned up.

Now that everything is confirmed working, we will want to position our board into the battery compartment. Personally, I am going to keep my USB-C charging board in the middle, like the picture below but you can just have loose in any direction you please.

The reason I have chosen position is so I can eventually make a small hole for the charging port. This will allow you to play and charge your GBA via USB-C at the same time, which is something not possible on a stock model, even with rechargeable AA batteries.

I will update this guide soon after I have made the hole in the battery compartment. The best way to do this is to line up your USB-C charging board where you want it mounted, then use a 4mm drill bit to make a hole in the centre and use a file to finish off the USB-C slot and give it a nice finish. To secure the board in position you can use, tape, hot glue or a two-part epoxy.
In terms of battery life, with an AGS-101 backlit screen installed the console uses around 80mA so the 1100mAh in this GBA USB-C battery mod I have installed should last around 13 hours and 45 minutes on a single charge. With any type of battery, there is always some wastage in terms of true battery life so we will more likely be looking at total playtime of around 11 hours on a single charge. You will know when your custom battery pack is fully charged as the blue LED will turn on.

Thanks for this great guide! I’d like to attempt this but leave the GBA battery contacts on the PCB. Is there enough room to do this and fit the battery? Also are you aware of any part I could use to make contact with the battery contacts or would I need to make something myself?
There’s just about enough room inside to leave the connectors in place, you would have to wire your cables directly to the terminals or make some kind of board yourself.
I would recommend looking at my IPS screen guide, I use one of the newer 3rd party shells which have a little more space inside and require no cutting.